
PROJECT DETAILS
How We Build
& Remodel.
See the work behind the finished space. Choose a service to explore real project details, preparation and results.
Painting
Protect. Prepare. Finish.
A closer look at the details that come before the final coat.
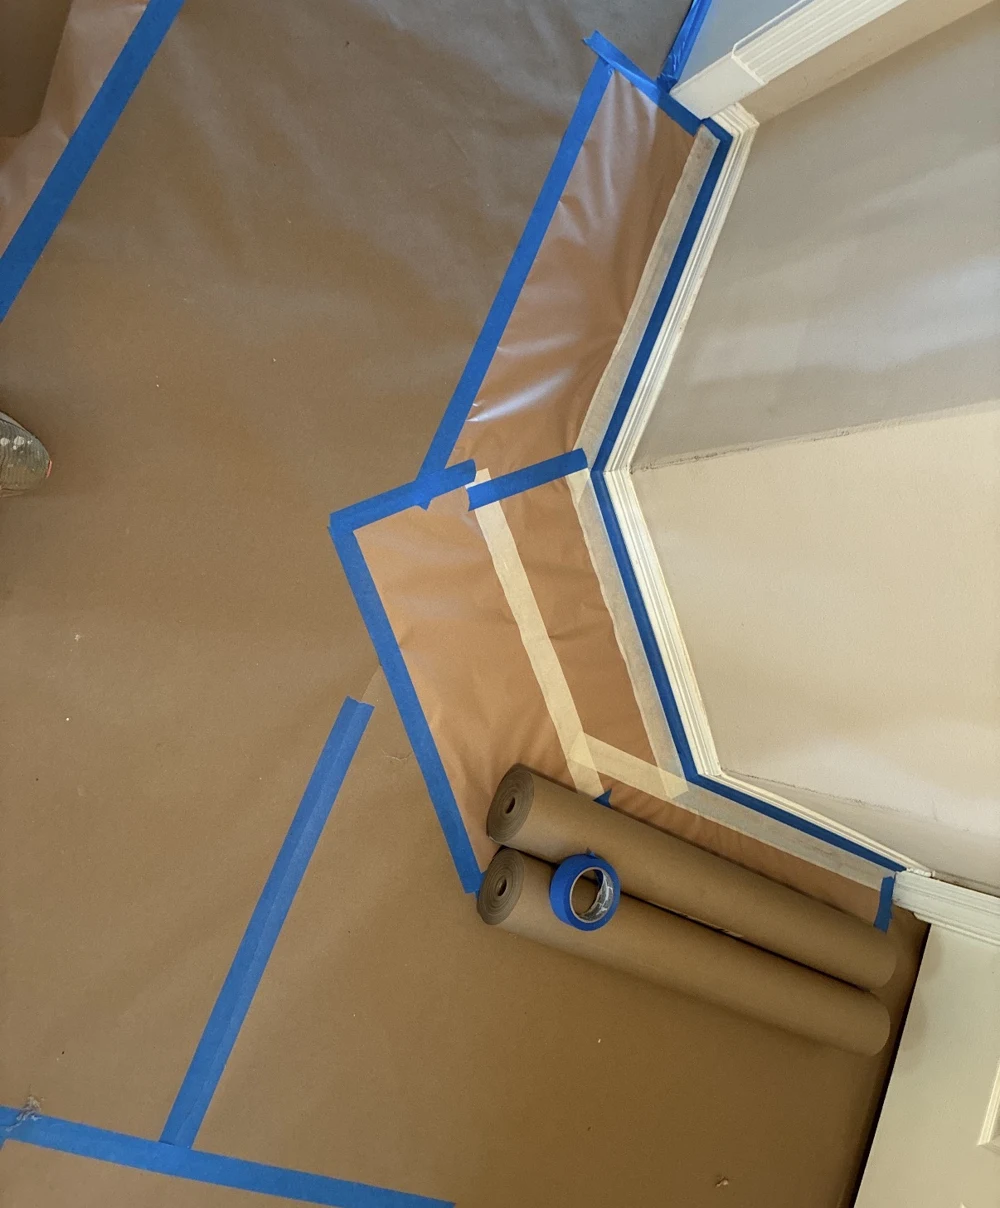
Tape & protect
Paper and taped seams protect the floors and trim.
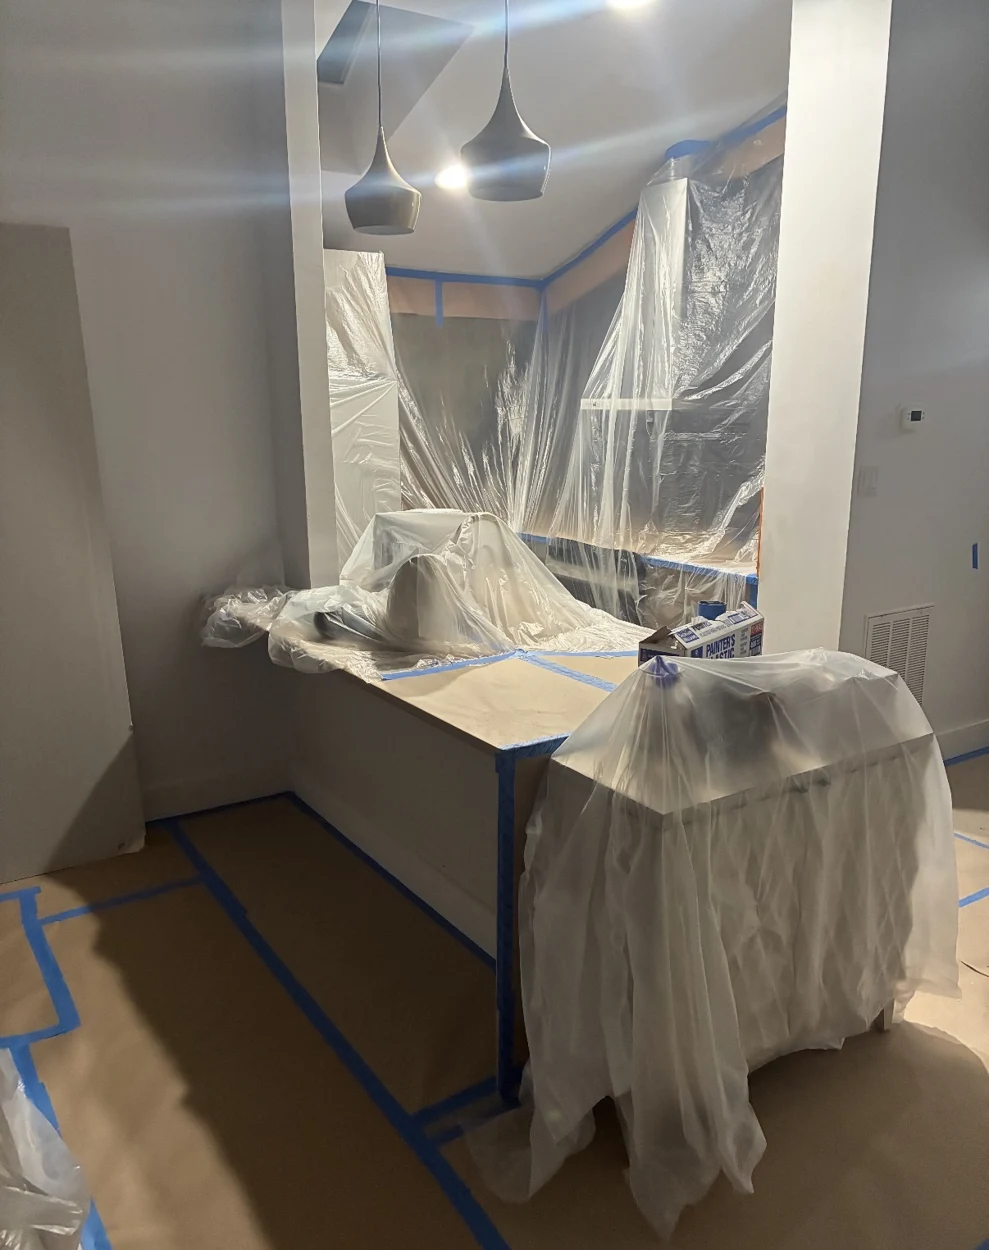
Cover the kitchen
Cabinetry, counters and nearby surfaces covered before painting.
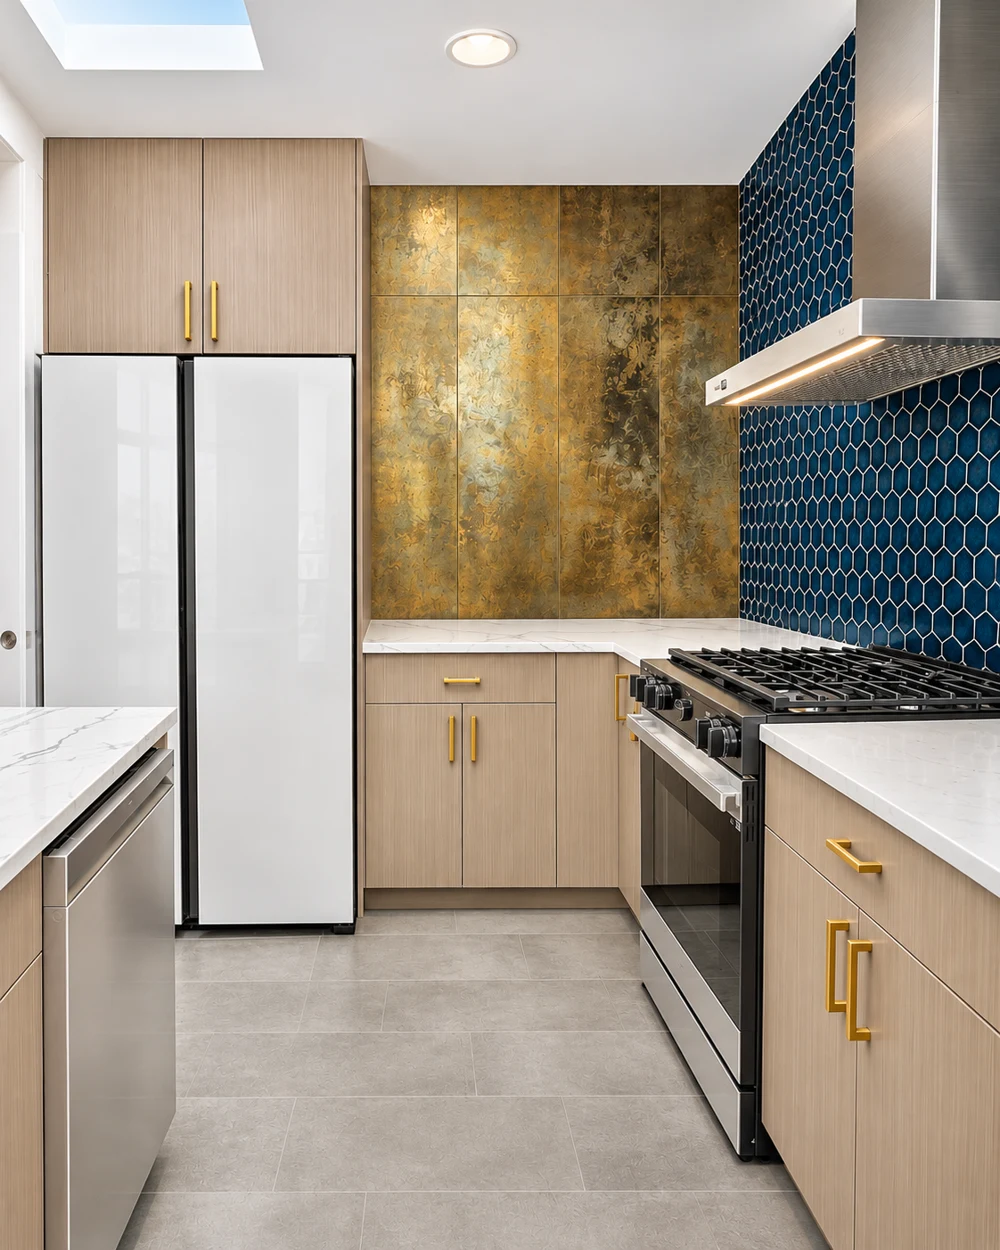
The finished space
Clean walls, crisp edges and coordinated kitchen finishes.
Bathrooms & Tile
A great shower starts before the tile.
Follow the same shower through demolition, preparation, tile installation and finishing details.
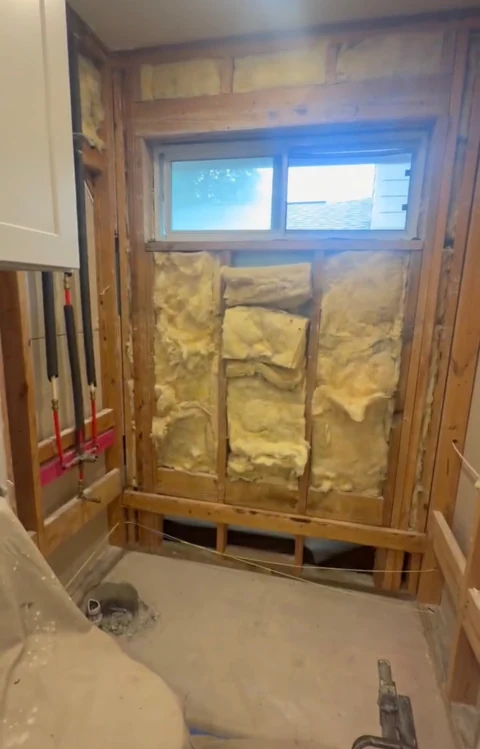
Open it up.
Exposed framing at the demolition stage.
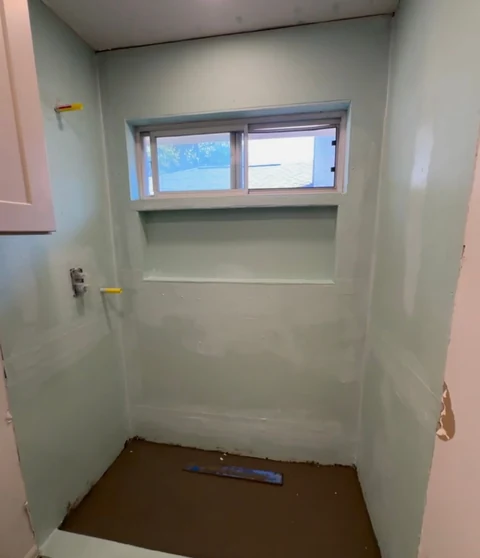
Prepare it.
Walls and niche taking shape before tile.
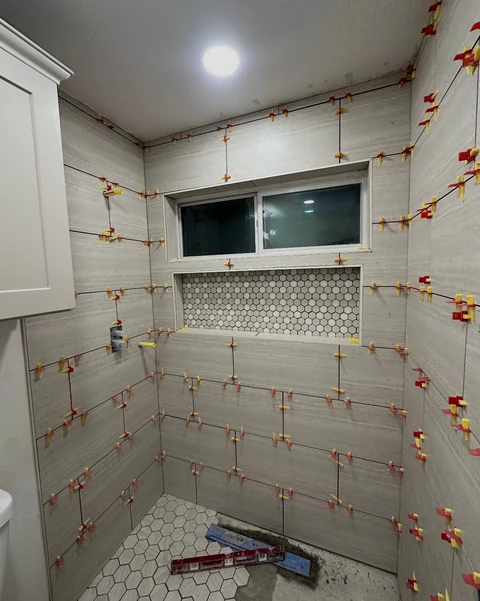
Set the tile.
Tile installation in progress.
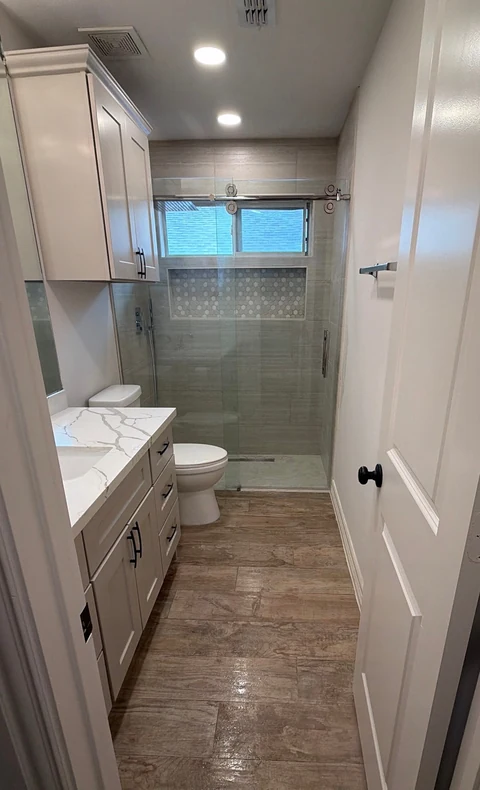
Bring it together.
Tile, glass and fixtures bring the space together.
COMMERCIAL
From framing to finish.
Explore the preparation and finish details behind a commercial renovation.
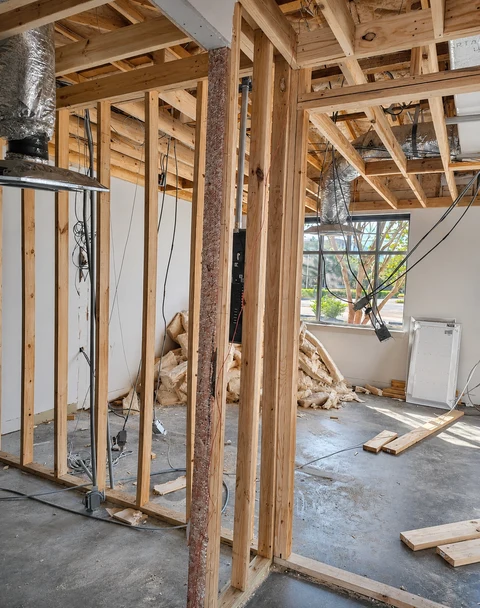
Open up the space.
Exposed framing reveals the layout and the work behind the walls. This is where a renovation starts to take shape.
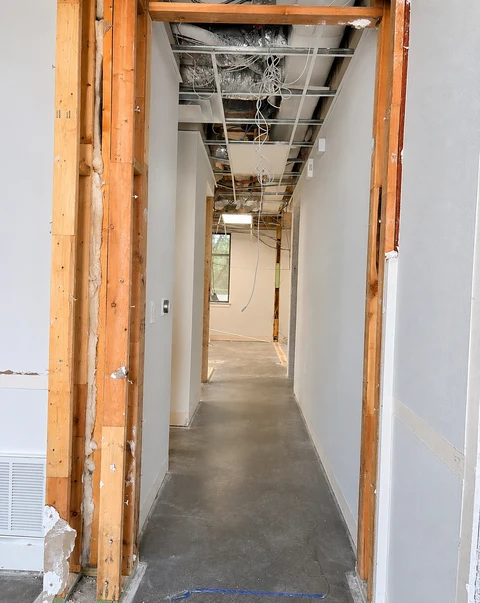
Prepare the interior.
Door openings, walls and the ceiling are still in progress. Planning how these elements come together matters before the finish work.
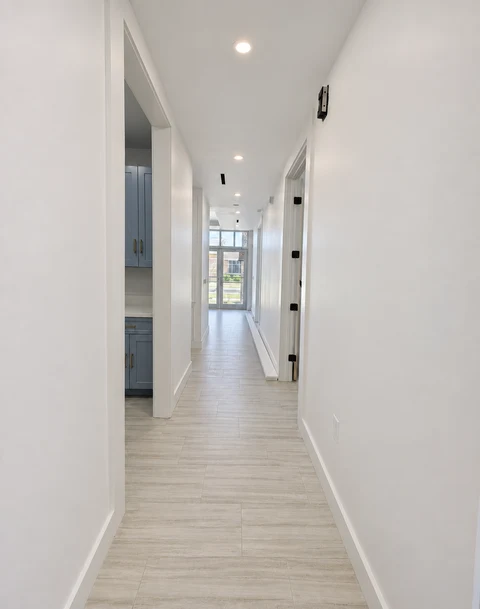
Refine the details.
Flooring, wall finishes and trim give the hallway a clean, consistent look. The smaller details make a difference.
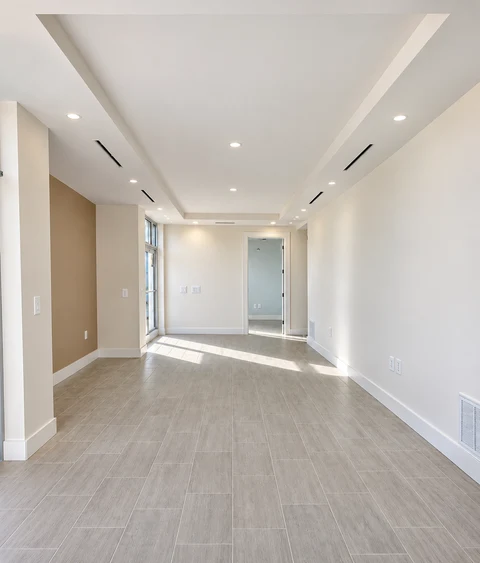
Bring it together.
The room shows the transformation: clean lines, finished surfaces and lighting that brings the space together.
Carpentry & Cabinets
Built around the details.
From cutting components to finished cabinetry. Four stages, shown through examples from different projects.
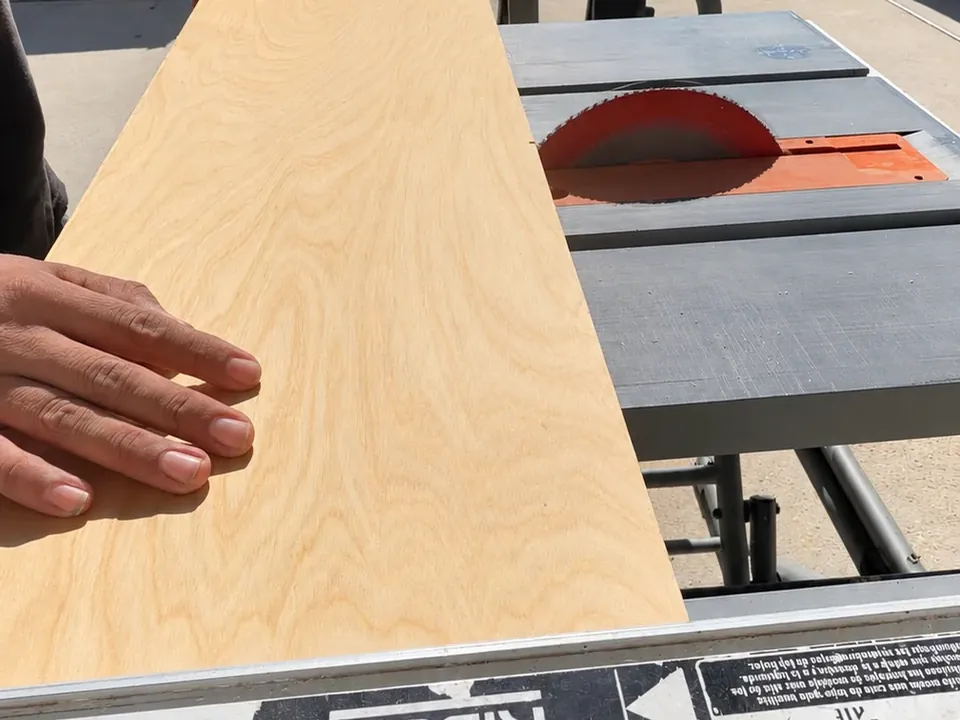
Cutting
Plywood being prepared at the table saw for cabinet components.
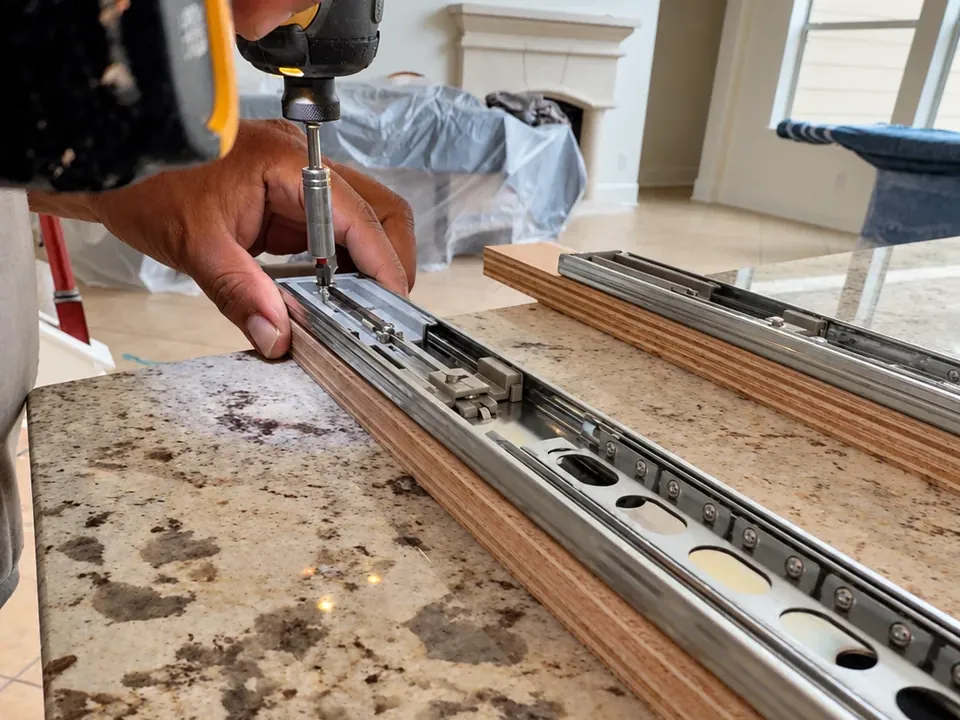
Fastening
Drawer-slide hardware being fastened to a wood component.
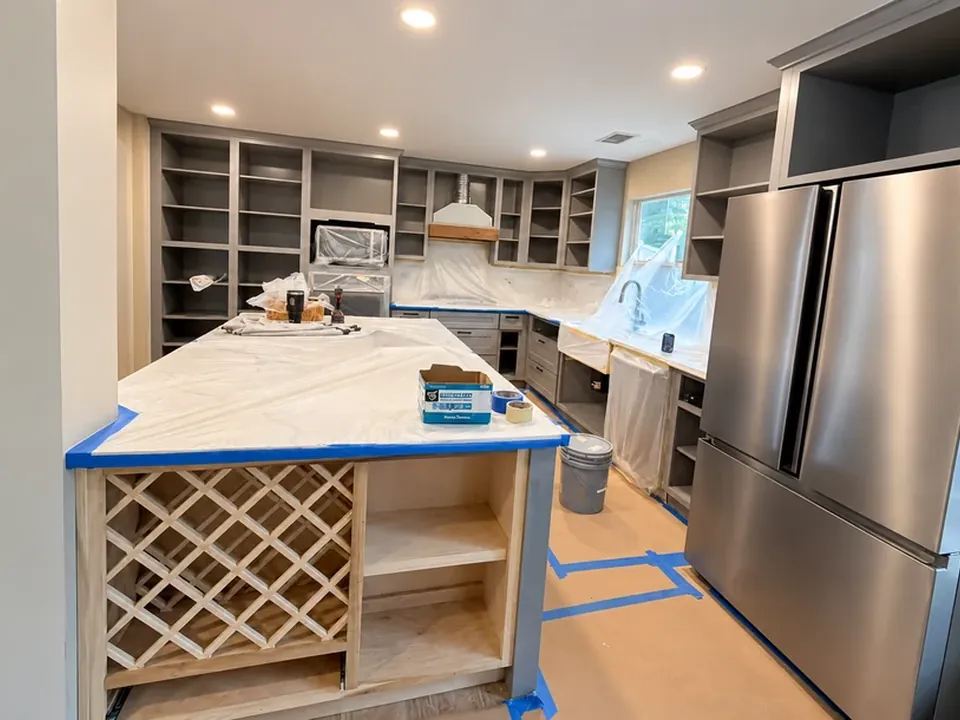
Building
Cabinetry taking shape, with surfaces protected while work continues.
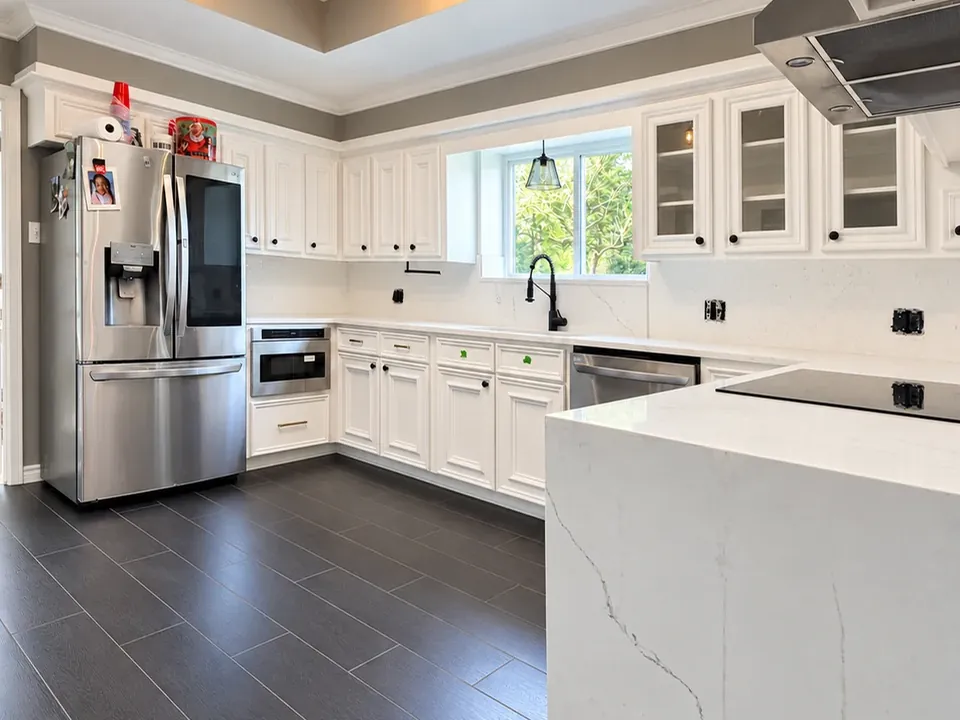
Finished Cabinets
Painted cabinet doors, drawer fronts and hardware in place.
Framing
A garage rebuild, start to finish.
Follow one garage from an opened roof through framing to the finished exterior. Then explore a separate framing project in Galveston.
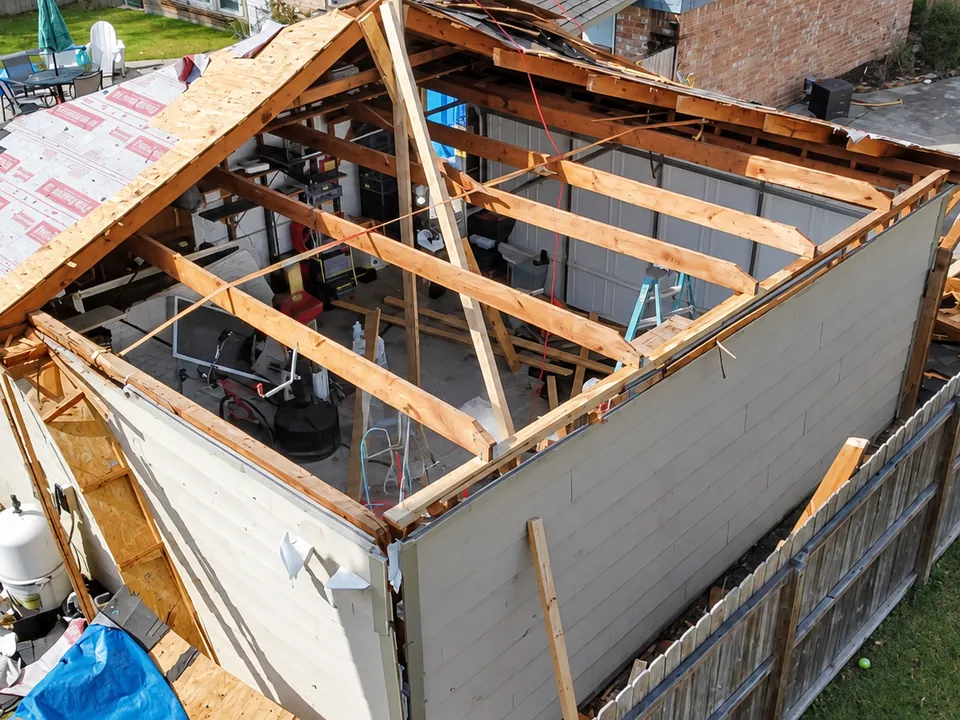
01 · Opening the structure
The garage roof is opened to expose the existing structure and begin the rebuild.
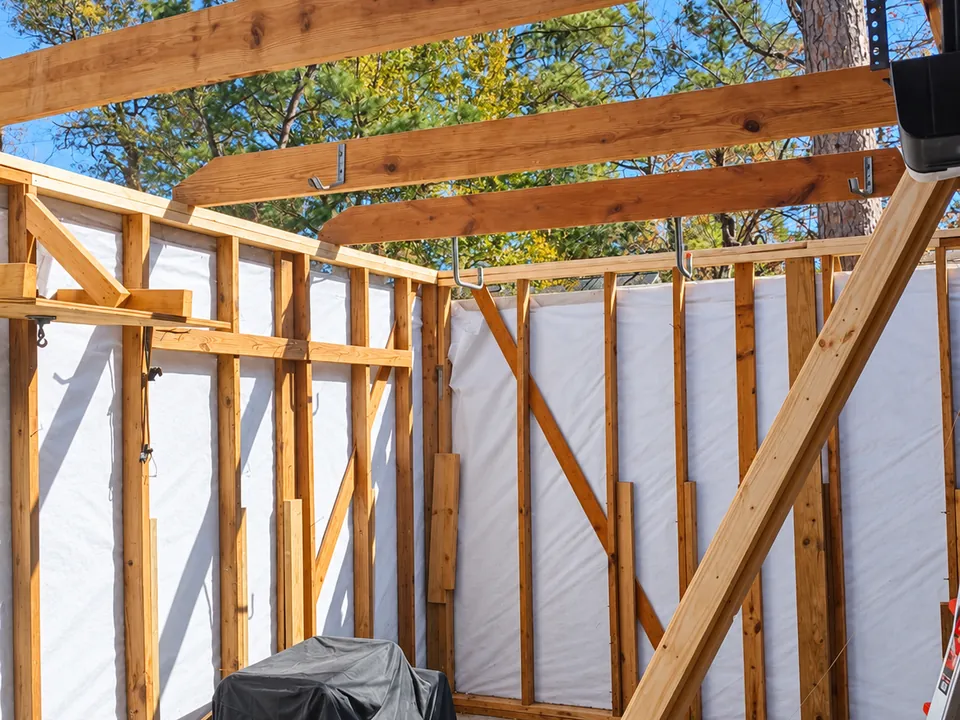
02 · Framing takes shape
Wall framing, overhead members and temporary bracing show the work before it is enclosed.
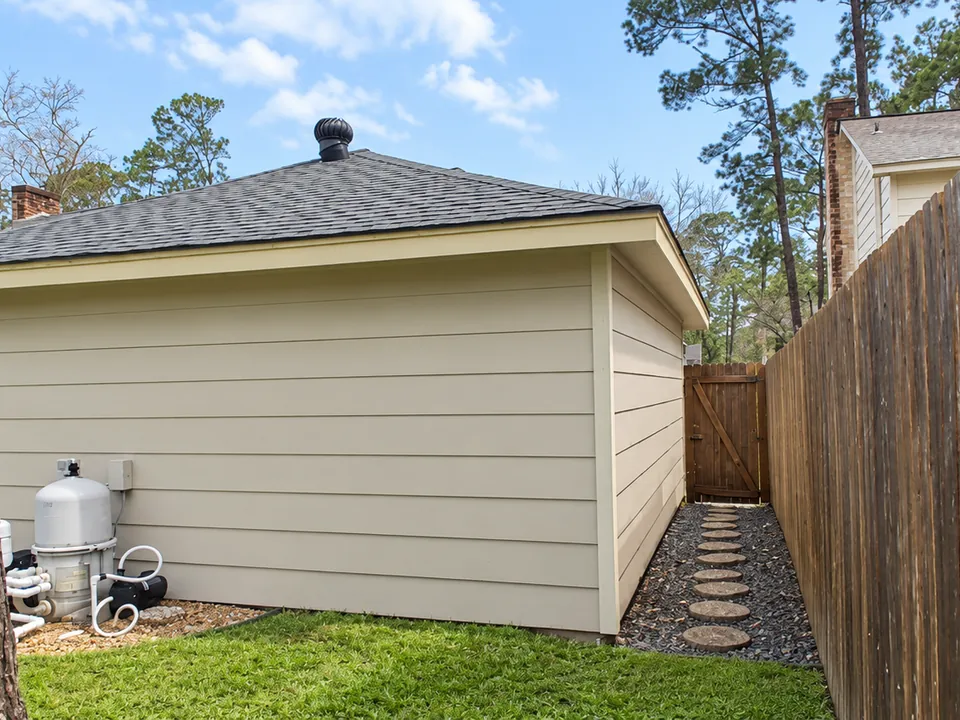
03 · Finished garage
The same garage after rebuilding, with the roof and exterior siding in place.
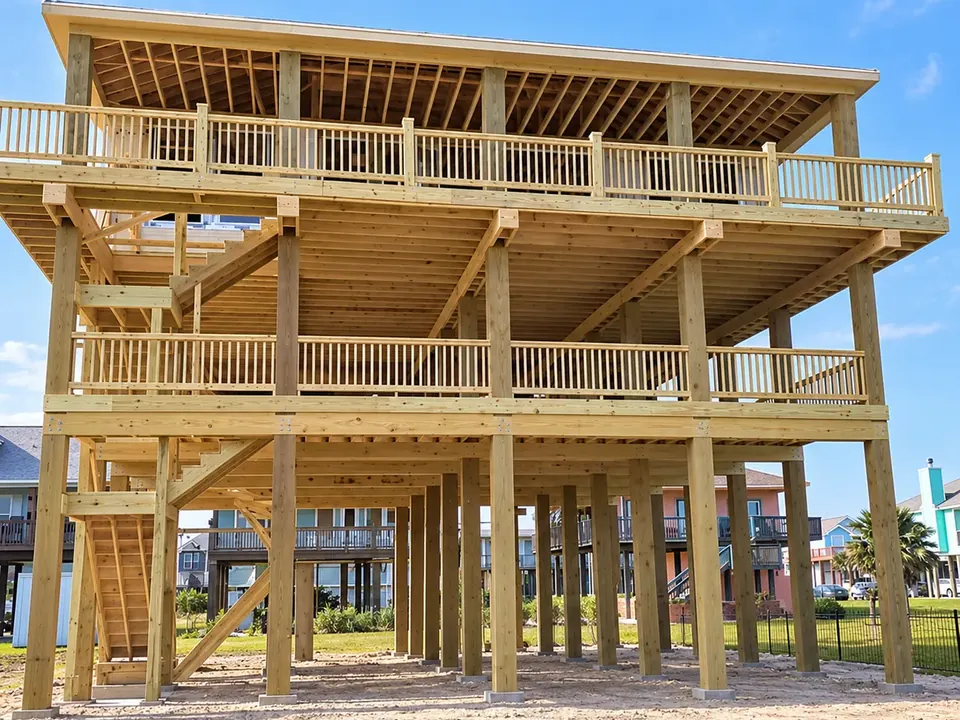
Galveston · Larger-scale framing
A separate Galveston project shows our framing work on an elevated home and deck structure.
Siding
The details behind an exterior.
See installation work and a completed exterior. These examples are from different stages and spaces.
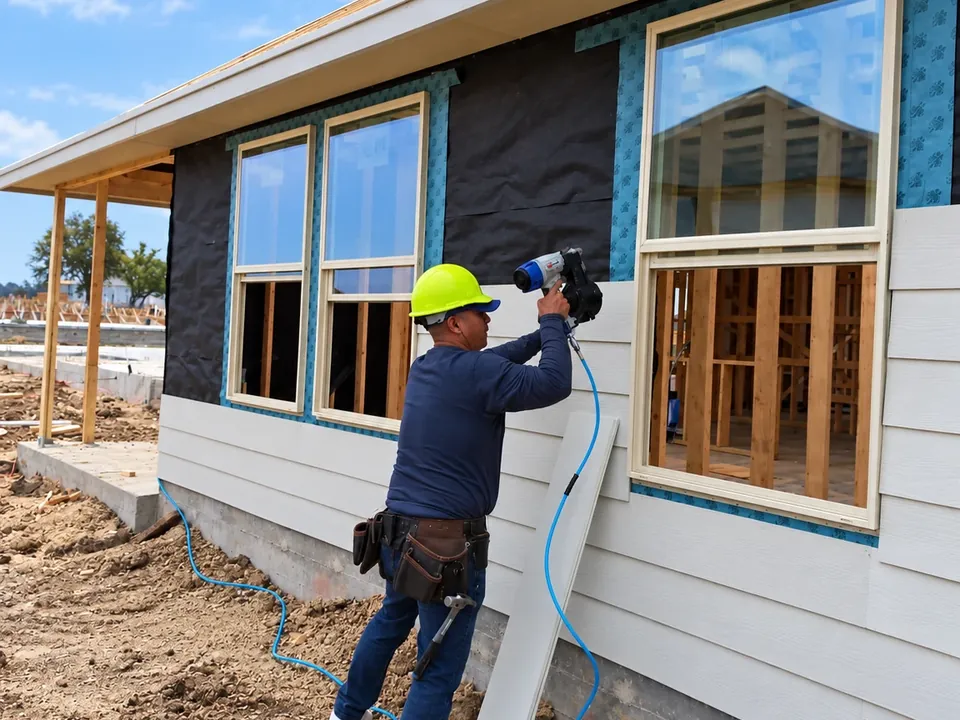
Siding installation
Lap siding being installed along the exterior wall.
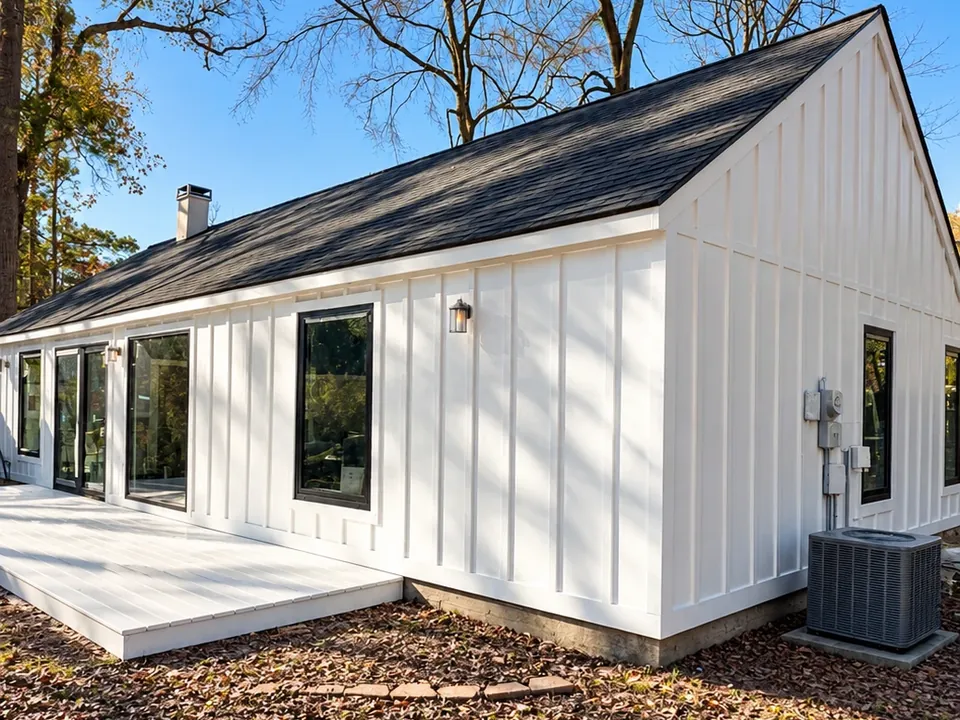
Finished exterior
Completed siding, trim and paint give the exterior a coordinated finish.
· Woodlands TxWindow Installation
Look beyond the glass.
The work around the opening matters as much as the window itself.
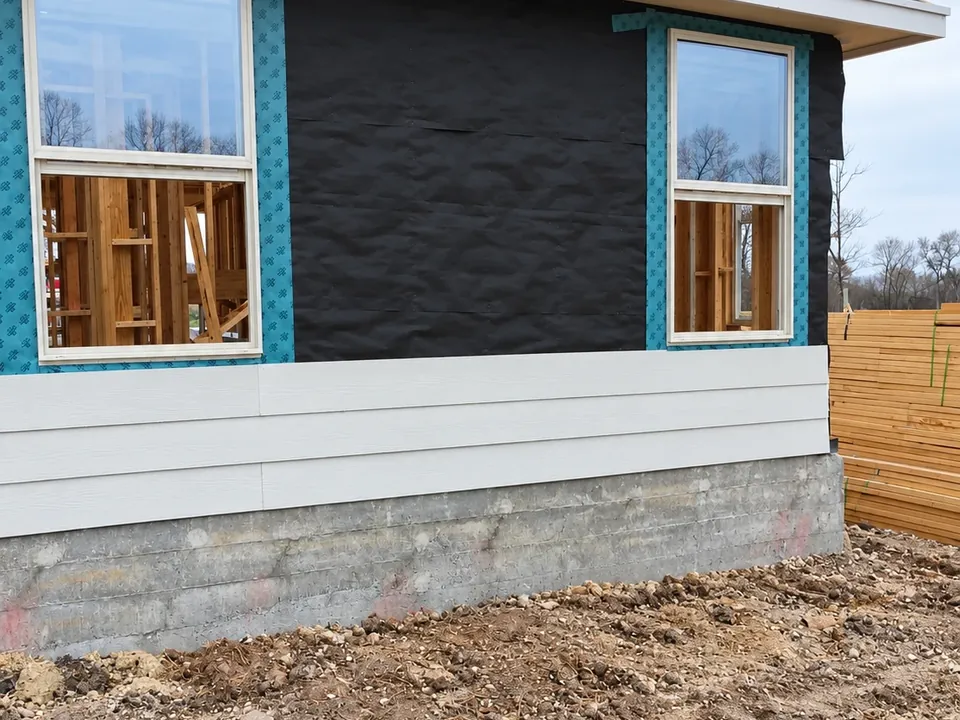
Opening & flashing details
A window installation in progress with flashing tape visible around the openings.
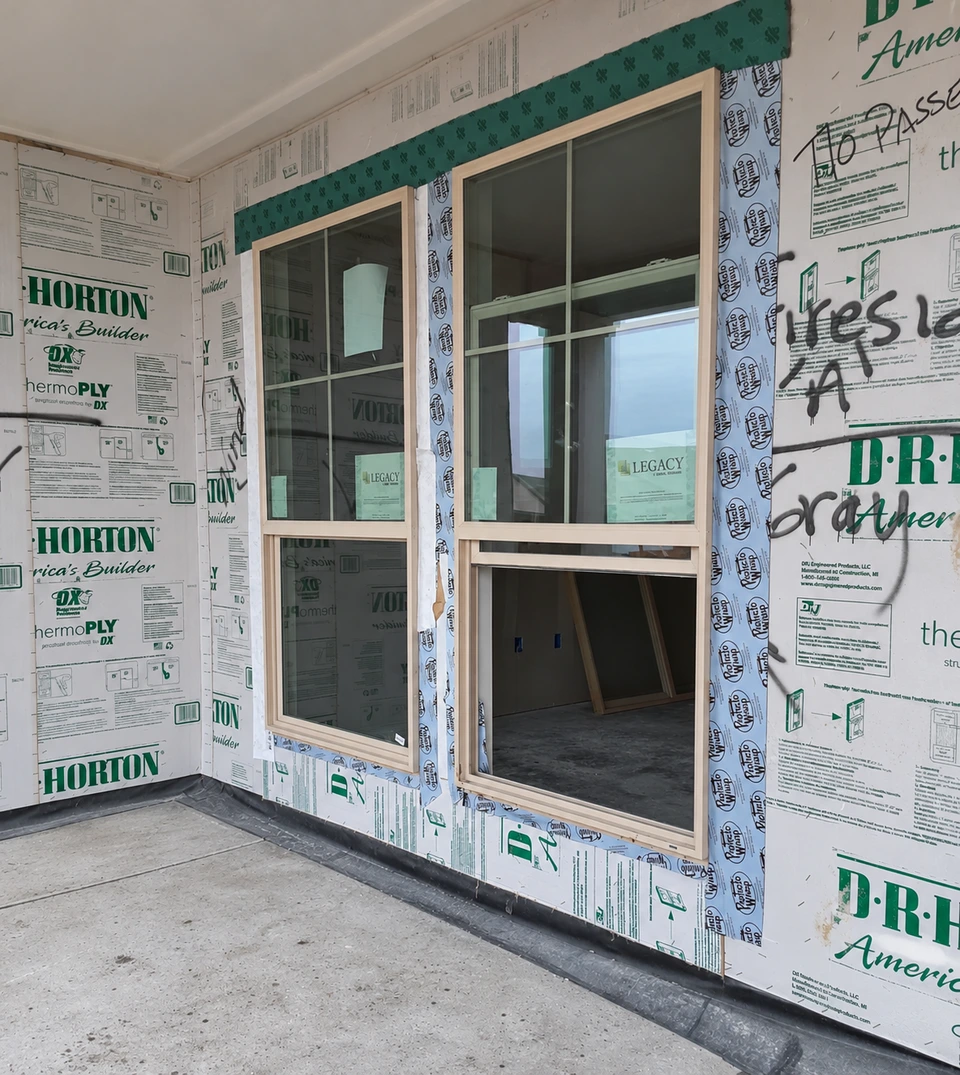
Flashing before siding
With the siding still off, you can see the flashing tape along the tops, sides, and sills of these two windows. Flashing helps direct water away from the openings.
How we plan every project
- Walk the space. Discuss your goals and existing conditions.
- Define the work. Agree on scope, selections and scheduling.
- Build with care. Protect the work area and follow the agreed sequence.
- Walk it together. Review the completed work and final details.
A single room or a larger renovation.
Let’s talk about your home.